How To Prepare for your Home Inspection
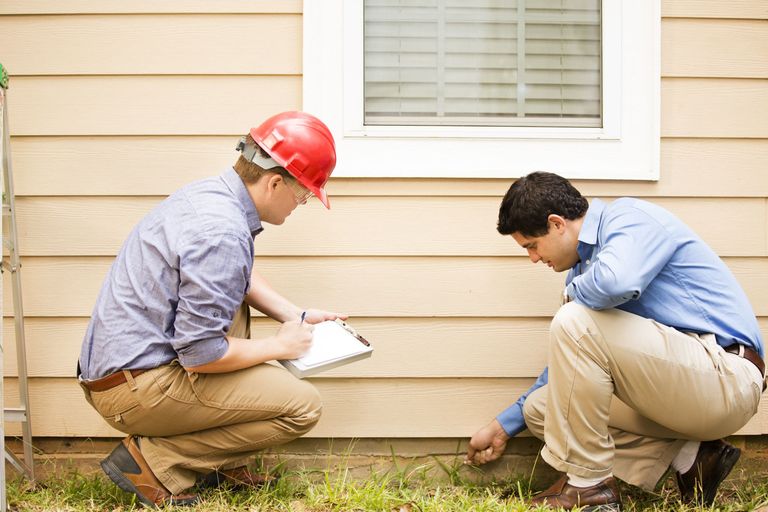
A Home Inspection, Performed by a Professional Home Inspector is a key component of almost all home resale transactions. This article is intended to help the home inspection client obtain the most comprehensive home inspection possible.
The Home Inspector is typically retained by the buyer during the contract option period, although more and more home sellers are opting to have professional home inspections performed, prior to placing their home on the market. While the article is written in the context of a buyer’s home inspection, the content can be applied equally well to a seller’s pre-listing home inspection.
In preparing for a home inspection, it’s important that everyone involved understands the role of the home inspector, who they serve and what to expect from the home inspection report.
To be effective, the home inspector must be knowledgeable across a broad range of subjects related to home construction and maintenance. Though many home inspectors have experience in a particular construction discipline, their role is that of a generalist. Compare the role of the Home Inspector to that of your family doctor or General Practitioner. You see your family doctor for a check-up or physical. He/she can perform a thorough examination and assessment of your condition and may recommend advice to help improve your overall health. However, your doctor will likely refer you to an Orthopedic Surgeon (a specialist) if he/she suspect that that pain in your knee may be a torn cartilage. Similarly, a Home Inspector may advise you to consult with a specialist if they find certain conditions (e.g., a Structural Engineer to further evaluate indications of structural distress in the home). A good inspector will limit this kind of referral to only those things that cannot be adequately assessed within the scope of a home inspection.
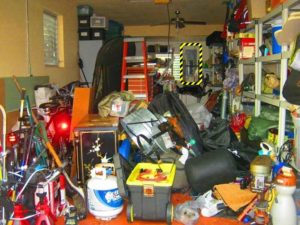
In order to perform a proper home inspection, the home inspector must be able to access virtually every part of the house, open and inspect inside electrical panels, HVAC equipment, attic spaces, crawl spaces, etc. They will need to operate all of the systems and appliances that convey with the house. This includes virtually everything from the dishwasher, to the HVAC systems, to the automatic garage door operators, even the irrigation system. If the home inspector cannot adequately assess a system because the utility service is turned off, access to the system is obstructed or even because the A/C system throughput is being restricted by excessively dirty return filters, these will be disclaimed and identified in the report as systems which could not be properly inspected. These situations result in unnecessary time delays in the transaction and the additional cost a return trip to reinspect, either by a specialist or by the original home inspector to complete the inspection of those items that could not be properly inspected during the initial inspection. These issues can be avoided by proper planning and preparation on the parts of the buyer, seller and their agents.

Items to Inspect in Your Home Inspection Report
Most home purchase contracts allow the buyer to obtain a home inspection report, even if the Seller is selling as is, and Buyers are more likely to obtain a home inspection report than ever before, even when buying a home as is. So, what should you look for when you receive the inspection and what can you ask the Seller to repair?
“As Is” Contract Negotiations. With the typical “as is” contract, the Buyer can obtain an inspection and usually back out of the contract if it is unacceptable, but the Seller is not obligated to make any repairs. However, if you have an “as is” contract, a home inspection report can give you the opportunity to negotiate Seller repairs, a repair credit, or a lower purchase price.
Monetary Cap on Repairs. With a typical contract that does require Seller repairs, there is usually a limit on how much money the Seller is required to spend (usually a percentage of the sales price or a fixed dollar amount), a limit on what constitutes a “defect”, and a clause which allows the Buyer to back out of the contract if the cost of repairing the defects exceeds the Seller’s limit and the Seller is unwilling to make repairs which exceed the limit.
Defects. If done properly by a qualified person or company, the home inspection report will usually note every defect in a home, whether or not it constitutes a “defect” under the contract. The inspector’s job is to find everything that is or may be a potential problem, whether or not the Seller is obligated to fix the problem.
List Repairs by Seller. When reviewing a home inspection report, look at the sales contract language which deals with Seller repairs and highlight those items noted in the report which the Seller is obligated to fix. At a minimum, if your contract requires the Seller to make repairs, you should report these to the Seller and ask them to be made.

How to Prepare for a Home Inspection When Selling Your House
Here’s a scary scenario. Imagine you’ve been busy preparing your home to sell for months. You’ve been working diligently with your REALTOR, home stager, mortgage lender, and contractor to get everything perfect so that you can sell your home for the most money and move on to your next home. With eager anticipation, you wait for a good offer while your home is on the market and then, you get a great offer!
The excitement is exhilarating. You start thinking about the money that you will make off of your home sale and begin shopping online for your next home. Then, you get an email from your REALTOR showing 9 major items that the home inspector found while examining your property. Your buyers want all these items fixed before they will buy your home, or the deal is dead. This scenario happens all too often in real estate.
This is an easy situation to avoid though. You need to personally do a full home inspection yourself to make sure that you are aware of the potential issues that will come up on an inspection report when selling your home. This will keep you from the ultimate shock of your buyer’s repair requests. You can also hire a home inspector to check out these items for you.
1.) Windows/Screens: If there are any cracked/broken windows, damaged or missing screens, they may be written up in the report. Don’t panic. Just repair or replace what you choose in order to keep it off the report. If any double glass panels are “fogged” due to the seal being broken, it will probably be noted as well.
2.) Peeling Paint: Paint doesn’t last forever. It’s important to identify if your home needs new exterior paint before selling. Look for cracked, chipping, or bubbling paint around the exterior of the home, and areas where moisture builds up.
3.) Cracked Caulk: Caulking is important to seal a home from extreme weather conditions. For this reason, many home inspectors will look for cracked caulking around doors, windows, and water areas. This is an easy one to fix. Just purchase some high-grade caulking that fits the application needed and take care of it before the inspector shows up.
4.) Siding/Trim: Check for any loose boards that need to be refastened or replaced before a home inspection. If replacing exterior siding, be sure to match it to the original color and texture to leave a uniform look.
5.) Decks & Fences: Check for boards that need to be replaced, and see if any railing is loose. Check the framing of the fence for loose panels, and secure them back in place as needed.
6.) Positive Drainage: Make sure there is nowhere directly around the outside of the house that rainwater could flow TOWARD the house. Water should do just the opposite for the first 3 feet. This might mean a little shovel work. Also, make sure that downspouts pour 3’ away from the house or into a tray that does the same.
7.) Gutters: If the gutters are in need of cleaning, that may end up on the report. It’s best to clean the gutters before listing your home for sale. This is particularly important if you have a two-story home that overlooks gutters from the upper level windows. Clean gutters send a message to the buyers that the home has been well maintained. It’s an easy chore to knock out.
8.) Roof: A bad report can be at the top of the list of things buyers fear. You could be proactive and ask your agent to have a roofer give you an estimate on minor repairs (a tune-up). If you decide to do the repairs, you can then ask for a “Roof Certificate”. This will help put the buyers at ease.
9.) Air Conditioner: The unit on the outside of the house should be free of leaves and bushes to allow it to cool properly. Simply clean the area around the outside units to ensure that they are not obstructed by debris.
10.) Garage Door: Do a simple test. Open the door, have someone hit the button to close it, then wave your foot in the path of the infrared beam (electric eye path near the ground). It should stop then reverse the door back to open position. Next, repeat this -except instead of waving your foot, grab the door with both hands and make it stop. It should offer some push against you then reverse back to open position. The inspector will most likely perform both of these tests.

SO YOU’RE HAVING YOUR HOME INSPECTED – HOW TO PREPARE
One of the steps in the home selling process is having your home inspected by someone the seller has chosen. The Home inspection is important to both the buyer and the seller, but to the seller it represents another hurdle to getting the contracts signed. As an inspector I take people on tours of the homes they are planing on buying and talk them through the inspection process, showing them the good, the bad and the really bad. One of the things that I see on a regular basis is how little many seller does to prepare for that inspection. Some sellers just assume that there is nothing they can do to alter the outcome of the inspection, that’s where they are wrong. Following a few simple steps like those listed below can change the way an inspection occurs and possibly even shorten the amount of items on the inspection report.
Clean the House
This sounds so simple yet home owners often overlook this tactic. Home inspectors are people first and inspectors second. As people, they carry preconceived ideas of how well a home has been maintained. Clean homes say you care and take care of the house.
Be On Time Because the Inspector Will Be
Sometimes home inspectors are early. If an inspector makes an appointment with you for 9:00 a.m., have the house ready for inspection at 9:00 a.m. It’s also common for inspectors to start on the exterior of the home, so leave the shades down or drapes drawn until you are dressed. More than one unprepared seller has been “surprised” by a stranger stomping around in the back yard.
Leave the Utilities Connected
The home inspector will need to turn on the stove, run the dishwasher, test the furnace and air conditioning, so leave the utilities on, especially if the house is vacant. It’s impossible to check receptacles for grounding and reverse polarity if the power is turned off. Without utilities, the inspector will have to reschedule, which could delay the closing of your transaction and the removal of the buyer’s home inspection contingency.

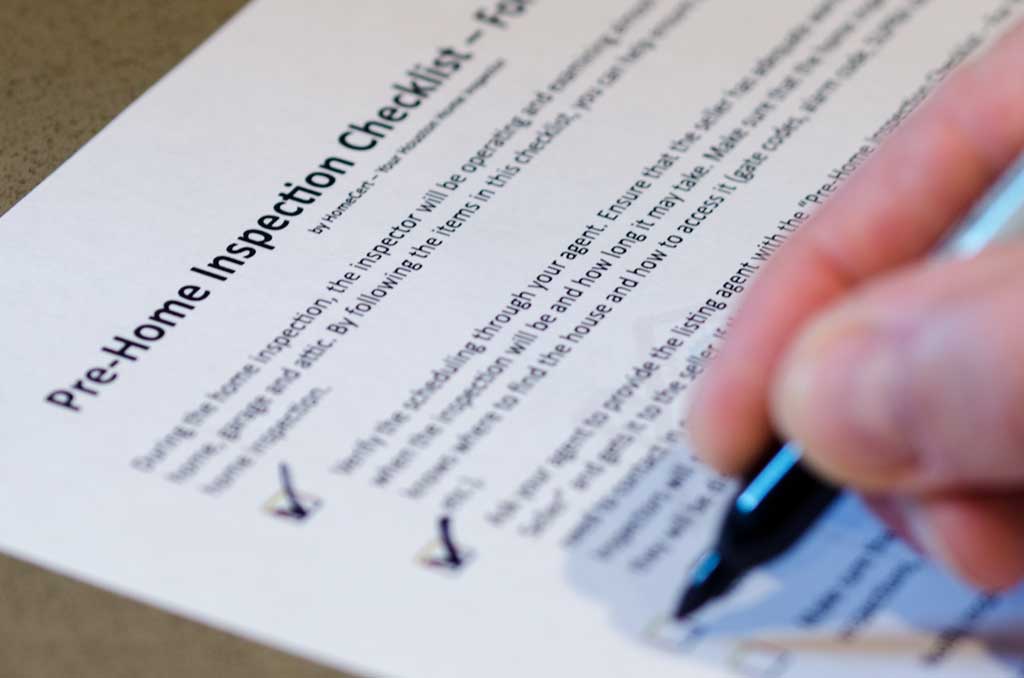
The DIY Home Inspection Checklist
Save time and money on costly future home repairs, by performing a DIY home inspection. Once you know the trouble spots to look out for, you can easily examine your home throughout the year.
We’ve provided a helpful home inspection checklist that you can refer to as often as needed. It’s helpful to take notes of issues and repairs and make sure it’s dated. This log will serve as a great reference point as long as you live in your home.
Rotted Wood: Probe joist ends and sill plates with a screwdriver or an ice pick. Soft spots may indicate wet or dry rot, especially if the floor above sags. Look for bubbling or rippled paint and check behind siding for rotting wood. Rotted wood should be repaired immediately.
Holey Joists: Poorly placed drill holes or notches for wire, pipe or duct can sap a floor joist’s strength. What’s safe varies by manufacturer, but here are some rules of thumb: No holes or notches in the top or bottom flanges of an I-joist. Even big holes could be okay in the center, but not the ends, of the framing. Drilled holes must be at least 2 in. from top or bottom and no greater than one-third the depth of an I-joist. Notches in a conventional lumber joist should not exceed one-sixth of its depth or penetrate the center third of the joist span.
Termite Tubes: Pencil-thick tubes snaking along joists may mean trouble. Break the tubes. If termites spill out or the tube is repaired in a few days, call an exterminator.
