Exterior Painting Shortcuts to Avoid
Now, most exterior painting tasks are lasting between 12-twenty five years, with respect to the quality of exterior paint. However, even using the most effective products and materials won’t insure paint warranty on the can. Listed here are key shortcuts to prevent when painting an exterior, insuring lasting beauty and defense against weathers harsh elements.
Never apply and painting materials within 24 hours of power washing: This is applicable to caulk and primer. Allowing the substrate to totally dry up from crevices and cracks, normally 24-48 hrs after power washing has had place will make sure a dry surface of these products to stick and bond to. Many occasions unscrupulous painting contractors who’re in a rush to begin and finished an exterior painting job will begin caulking and priming within 24 hours of power washing, that is a big no-no.
Don’t even think power washing replaces scraping: After power washing is finished, and completely dried out, hands scraping is essential. Power washing only removes grime and dirt, and enormous chunks of paint which has lifted up, curling. Ruthless washing will damage the wood surface, washing too near to surface, so utilizing a hands scraper may be the order of economic, as being a dental professional utilizes a tool to check on for tooth decay.
Caulking over old caulk
Aged caulk will many occasions outdoors of one or more surface substrate, otherwise both, at 90 degree angles, say where trim meets siding. Never caulk over old caulk, as this separation has happened with old caulk, and new caulk follows the identical lines of separation if old caulk is not removed. Additional time is involved, but well worth the efforts, before any exterior paint can be used.
Don’t paint over bare wood areas with finish coat paint: Bare wood can get primer much better than trim or body paint in selecting colors will. Exterior primers are created improving connecting materials within the paint than finish jackets, therefore allowing the final outcome jackets to bond to exterior primers much better than bare wood. Once all loose flaking paint remains removed, make use of a thick uniform coat of exterior primer on all bare wood surfaces.
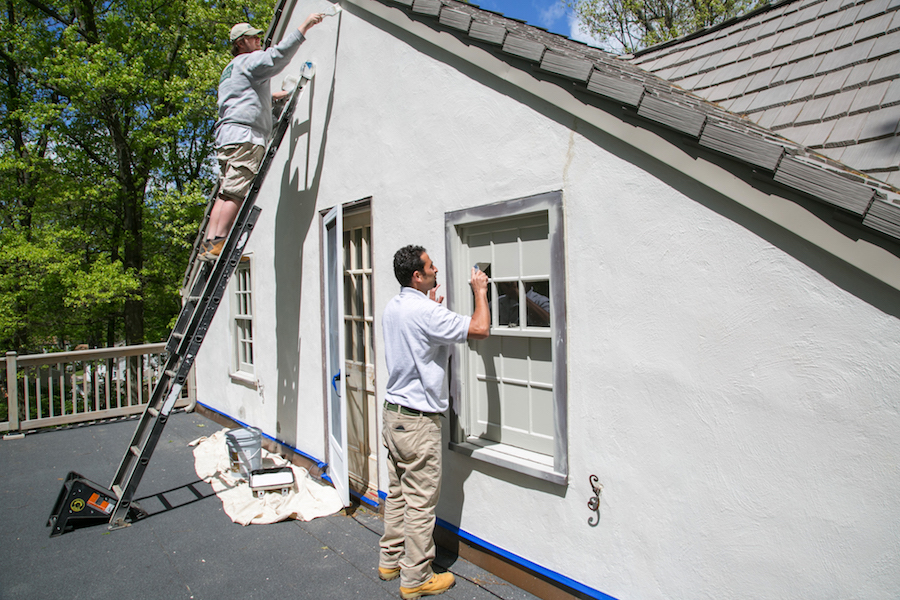
Avoiding the prep work
- Not pressure washing siding prior to painting
- Not sanding walls
- Not priming patches
- Not masking the baseboards, molding, windows, etc.
- Not Caulking
There’s no substitute for prep work when you’re hoping for a great final product.
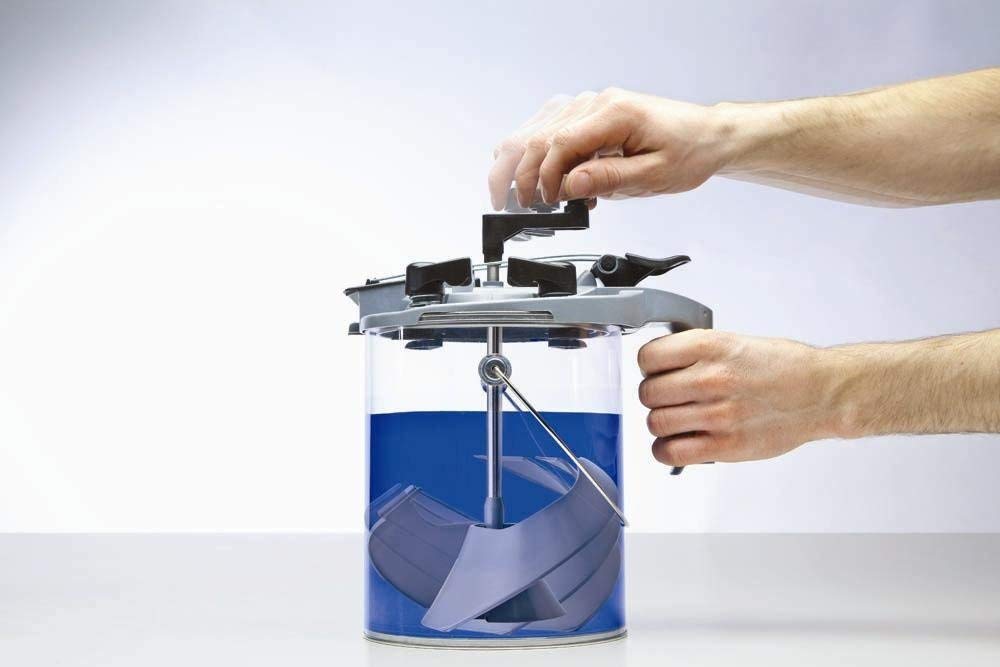
Not preparing the paint properly
Paint is designed to be prepped, so make sure you do the following to make it ready to be applied to the surface:
- Strain your paint to remove impurities and lumps
- Thoroughly mix the paint
Using only one coat of paint
Always apply at least 2 coats for the best results. Covering your surface in one coat will most likely result in a transparent and unflattering finish. Applying just one more coat paint (2 total) will be your best bet to give you smooth long lasting results.
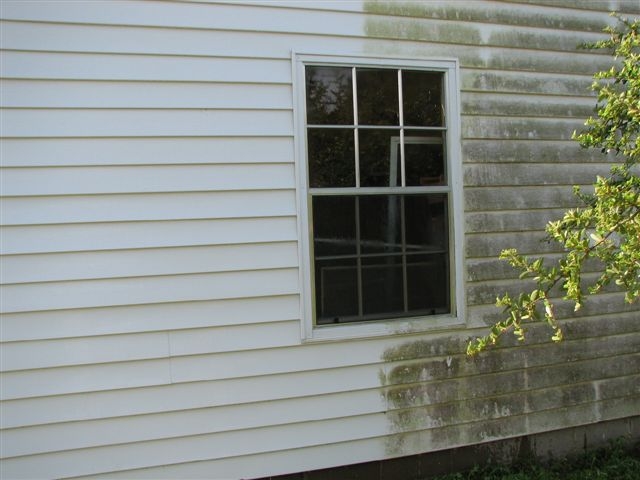
Painting without Cleaning a Surface
In order to make the paint stick properly to a surface, it needs to be clean from dust, dirt, mould and other things that may be attached. A dirty wall will lose new paint quickly, as the paint won’t be stuck to the wall, in many cases, but will be stuck to the dirt.
Once that
dirt falls off, it takes the paint with it. That leaves you with a patchwork
wall with a lot of unsightly holes in the paint.
Be sure to pressure wash, scrub or otherwise clean any surface you plan to
paint until it is smooth and clean.
Painting over Old Paint
You can often paint over old paint if that paint is in good condition. If the paint is faded or just not the look you want anymore, but it is still intact, then it’s okay to paint over it. When you want to avoid repainting on top of old paint is when that paint is chipped, curled, peeling or otherwise damaged. That paint is going to come off over time, taking the new paint with it. Just like the dirt example we talked about above, you’ll end up with a wall that looks poorly painted after a while. It’s best to scrape off any paint that is starting to show its age and peeling or chipping. It takes time to get rid of that old coat of paint, but you’ll save yourself from having to repeat the work over again later.
How to Fix Roller Marks
If your walls look like lap lanes in a pool, you have roller marks. These occur when a brush or roller doesn’t maintain a wet edge while painting. To remedy this:
- Start by sanding down the uneven areas until smooth
- Patching may be necessary afterward, be careful as it may take off underlying paint
- If severe enough, it may be easier to patch the whole area
- Clean the dust off of the walls
- Prime the area
- Put a sufficient, uniform coat of paint on the wall